
Top Tips on Cleaning Interior Windows
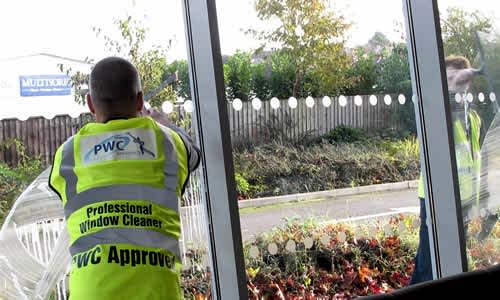
So your window cleaner has carried out his regular visit and the outside of your windows at your home or business premises are gleaming, the sun reflecting from their pristine surfaces. But the interiors are now showing themselves up to be a bit of a horror story. Here, we have some top tips to get the insides of the windows as sparkling and gleaming as the outsides.
Think like a professional
The first step is to get your kit together and think like a professional when you do this – after all, it works for the guy doing the outside so why shouldn’t it work for you on the inside? Start with a good sized bucket that can fit all the equipment into it, preferably one that is rectangular or square (most of the tools are straight!). You don’t need anything too large or storing it will be a pain but at least mop bucket sized is ideal. You can even use your mop bucket if it has a removable section where the mop is squeezed.
The squeegee is viewed as the key piece of window cleaning equipment and isn’t only available to professionals. Go for a good quality one to get a good quality clean with names such as Ettore and Sorbo being on the list. They can be bought in many hardware shops as well as online, of course. A squeegee is made up from three pieces, the handle, the channel a bit of rubber that supports the channel. This last bit can be replaced when it gets a big shabby. Squeegees come from 4 inches long right up to 24 inches with many window cleaners using something in the middle, around 14 inches in length.
When you say mop to a window cleaner, this is something different to a kitchen floor mop. Also called a wand or a washer it is made up of a plastic T-bar and a sleeve. The sleeve is the material bit that comes into contact with the window and can be replaced or even put through the washing machine. Again, around 14 inches in length is a good average size.
When it comes to detergent or cleaning products, there are many different ideas. Some window cleaners go with something simple such as a good quality liquid soap, others have specialist products they use. There is even a number of old fashioned recipes around that predate chemical cleaning products and are still used by some, such as vinegar in warm water. It can be trial and error to find the right product or you can ask your window cleaner for some insider info – they may just tell you their trade secrets but they may not!
Other equipment
If you have modern uPVC windows, a scraper may not be needed but if you have painted windows or tough marks that won’t rub off, then one may be useful. Pocket scrapers come in around 3 to 6 inch lengths and have a little pole to hold them with. Be careful when using them though as it is easy to scratch the glass permanently.
Having some clean rags to hand is also important and an old towel is a great idea because most of the lint and fluff would already have worn off. A micro fibre cloth is another good suggestion.
If you are looking to really achieve a streak-free finish, you could invest into a window vac. Although initially invented by Karcher in 2008, many other top brands in the UK have since began developing their own.
Getting started
Fill the bucket to around half full with cold water (hot water evaporates too quickly) then add a little detergent or cleaning product. You can also add this straight to the mop if you prefer.
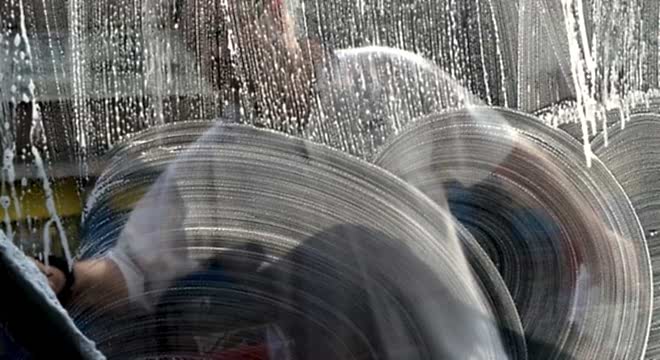
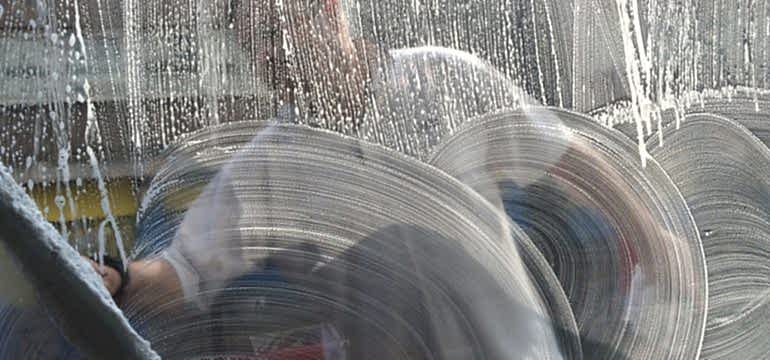
Wet the mop and rub it onto the window, rubbing vigorously to ensure that all the dirt is removed. If there are any tough stains that need the attention of the scraper, this is the time to do it. Make sure you only pass the blade in the forward direction to avoid scratching the glass.
Next up the squeegee – hold it with your dominant hand with the thumb half way between the side and the top. When you place it on the glass, this will give you the right angle, which is around 45 degrees. Work this out as when the handle touches the glass being zero degrees and when it is lifted from the glass completely, this is 90 degrees, so somewhere in the middle. This lets you put the right amount of pressure onto the window – important for collecting all the water and moving it around easily.
Start at the top of the glass in the left hand corner and move down the window. It may take a few goes at first but soon you will be removing all the marks in a single swipe. Even a professional, however, will need to wipe the edges and this is where the old cloth or micro fibre cloth comes in. Keep it dry and use it to remove the water and any marks on the edges.
You can use a micro fibre cloth to mop up any spills on the windowsill but most window cleaners will tell you that the old towel is the best option for this job. It absorbs water better and can just be popped in the washing machine after use, ready for the next time around.
Stand back and inspect your windows to see if there are any marks you missed first time around or if any stubborn stains didn’t relent to your cleaning – just repeat the process in that area to get rid of them, applying the scraper if suitable.
Conclusion
Cleaning interior windows doesn’t have to be a nightmare and much of it is down the equipment that you use. Think like a professional (or spy into their bucket while they are working) and get the right tools for the job. After that, it’s like most jobs around the house – practise makes perfect and before you know it, the interior of your windows will be as sparkling and gleaming as the outside.
If you are looking for a professional window cleaner for your home or business do not hesitate to contact LaddersFree for a free no obligation quotation on 0800 118 2830.


